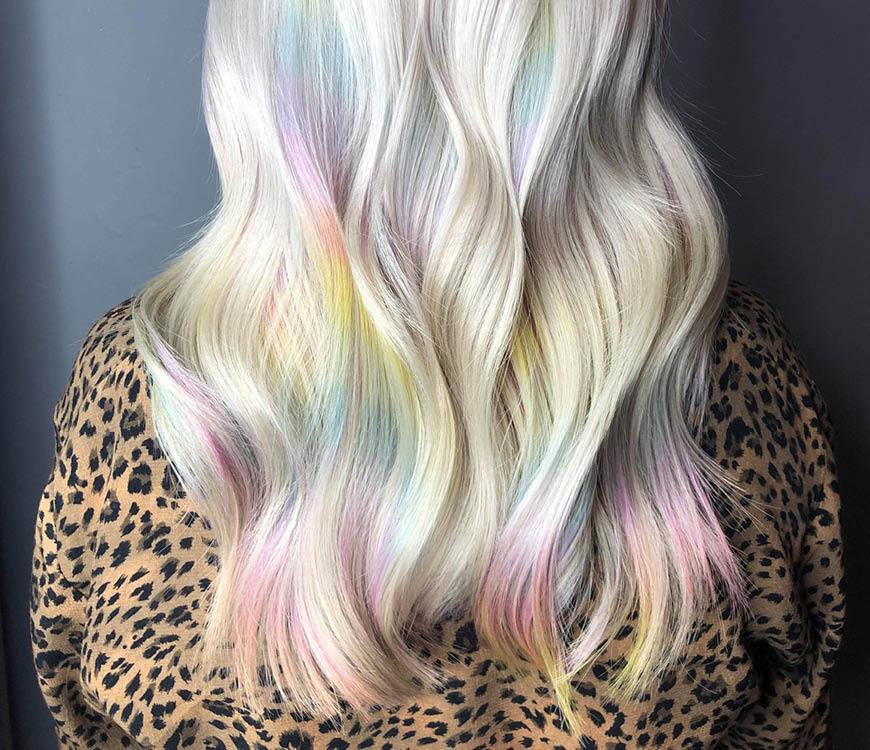
We've been loving Pulp Riot Squad member Lexie Shay Rabbett's colour work over on Instagram, so we thought it was time to ask her for a guest blog! Here, in the last of three blogs, Lexie shares how to recreate this amazing rainbow hair look.
Rainbow Daze
There are millions of ways to wear rainbow hair and there's no right or wrong way of doing it. My inspiration for this look is those days when the sun is so bright and there's a scatter of rain, so you end up seeing loads of those tiny little rainbows. I love bold and bright looks but I also love softer, more subtle looks, and this one is great for clients who are a little scared of bright tones.
I created this on a platinum base but you can use it on balayage hair, highlighted hair, dark hair - as well as amongst other rainbow hair - you're the artist!
Here's how I achieved this look;
Step 1. My model previously had platinum hair, so I refreshed the roots using Pulp Riot #blondeAF Powder Lightener and 20vol, lifted to a level 10 pale yellow. The perfect thing about Blonde AF Lightener is that is doesn't swell, so you get little to no overlap and no damage!
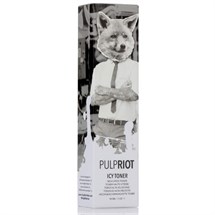
Step 2. I rinsed and toned the hair using Pulp Riot High Speed SILVER Toner with 6vol 1:3 (diluted) on towel dried hair. Leave for eight minutes, then shampoo and dry off.
In the ROYGBV colour pattern for rainbow, here are the formulas, using Pulp Riot Semi Permanent Colours - instead of Red, I actually used pink because I wanted a more pastel look:
F1. Blush
F2. Blush, Cupid and a scrape of Fireball, using the top of my tint brush to create an orange peach
F3. Lemon
F4. Seaglass and a dot of Area 51
F5. Powder and a dot of Blue Muse
F6. Lilac and a dot of Jam
Step 3. Divide the hair into 3 sections - 2 front sides and 1 consisting of the whole back. Divide the back section into 3 horizontal sections. At the bottom section, create two diagonal back rainbow panels on either side of the head, about a cm wide and about 1-2inches apart. Do the same again with the next horizontal sections*. For the top section I only did one on either side. For the front sections I split them into two horizontal sections and created one diagonal back rainbow panel within each of these sections.
*Tip: How to Create Rainbow Panels on each 1cm diagonal back section. Divide in two. Lay over meche piece/paper/foil/ or whatever is comfortable to use. Apply each colour in ROYGBV colour pattern just under an inch thick. Continue pattern until you run out of length. Apply second layer of section straight over colour and so same technique. After applied, rub finger in between each colour to smudge together. Lay meche over the top and continue the rest.
Step 4. Process up to 40 mins, rinse with high pressure cold water. There is no need to condition but I did with this one because the global blonde colour needed to be conditioned.
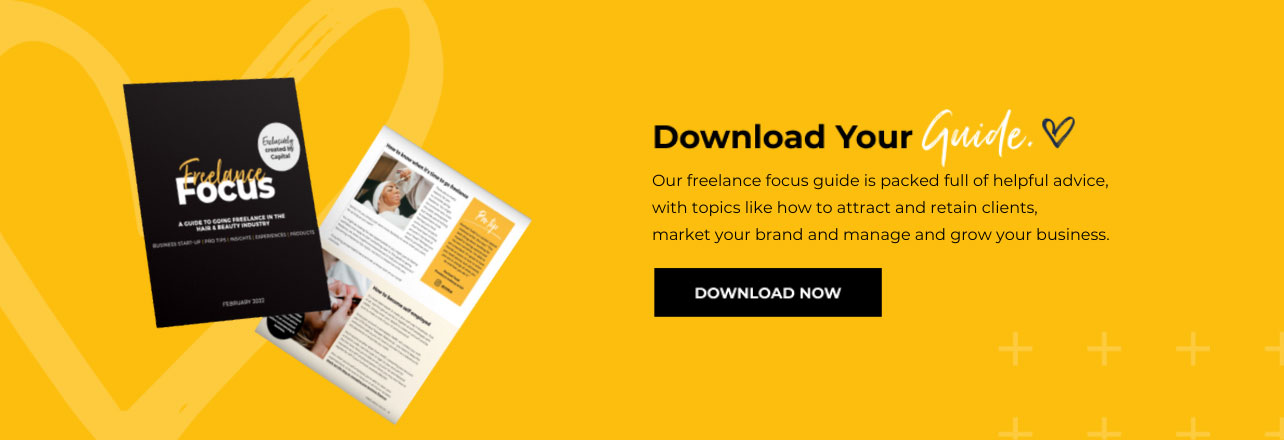
Freelance Focus, is a one stop resource for anyone working as a freelancer or thinking of going freelance in the hair & beauty industry, which includes a FREE downloadable guide filled with advice, useful insights, experiences and tips (from experienced freelancers) to help you understand the steps needed to make the right choices for you.
The new year often brings a sense of renewal, self-improvement and positive change. For many, this means reducing the consumption of animal products and embracing a more compassionate lifestyle. As hair and beauty professionals, we can support and promote this growing movement by embracing vegan and cruelty-free options. However, transitioning to fully vegan products may initially seem daunting. This is why, in this post, we will explore some simple swaps you can try in January that are still highly effective and recommendations for vegan styling products and treatments to expand your offerings this Veganuary. We aim to make embracing ethical beauty approachable and attainable so you can focus on what matters most - caring for your clients with confidence and care.
Simple swaps this Veganuary
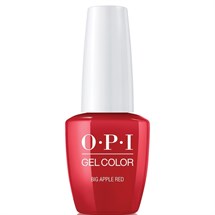
Start Small: It can be overwhelming to transition to fully vegan products overnight. One simple swap you can make is changing your hair brushes and combs to those made from natural materials such as bamboo (link to bamboo page) or wood. Not only are these products sustainable and eco-friendly, but they also help reduce static hair and promote healthy shine. Another easy swap for your salon or personal use is choosing cruelty-free and vegan nail polishes from brands like The Manicure Company. Ethically made and with an unwavering commitment to being a vegan and cruelty-free brand, Zero Gel Polish is widely available at our stores and comes in a vast array of colours. These small changes can make a big difference
The greatest night in British hairdressing!
Come with us to the Wella Trend Vision Awards.
With more than 700 guests in attendance, the Wella Trend Vision Awards were a feast for the eyes. Taking place along the banks of the Thames River, overlooking the stunning London skyline, the night was all about celebrating the best in British hairdressing.
An annual competition, the Wella TVA preparation started earlier this year with an online photographic entry and culminated with this prestigious evening where some truly iconic and creative looks were on display. Hosted by the legendary hair-up maestro Patrick Cameron, alongside Fergal Doyle (you can see more from Fergal on page 28 where he shares his ultimate social media tips), the night was packed with creative showcases from the likes of Wella artists such as Cheynes, Cobella, Francesco Hair Salons, Hob Academy, Lara Johnson Lifestyle, Nikki Clifford from NJUK, Simon Tuckwell and Stil.
Discover the results of a new survey on UK consumer loyalty to hair and beauty professionals. Nearly 7 million admit feeling more guilty about 'cheating' on their hairdresser than a romantic partner.
Email: Stay up to date with the latest news, offers and ideas.
Text: Be alerted when we have a VAT Free sale or exclusive promotions.
Post: Receive our bi-monthly mailer full of offers and new products.
Privacy Statement
This privacy policy sets out how Capital Hair and Beauty Ltd (CHB) uses and
protects any information that you provide when using the
capitalhairandbeauty.co.uk website or otherwise provide CHB with your
personal information.
CHB is committed to protecting your privacy. If we ask you to provide
certain information by which you can be identified when using the website,
you can be assured that it will only be used in accordance with this
privacy policy. We treat all your personal information as fully
confidential and do not pass your information on to third parties without
consent unless legally required to do so.
By providing us with your personal information, you agree and consent to
its transfer, processing, use and disclosure as outlined in this privacy
policy. This policy does not apply to data you place on any publicly
accessible page. For example, when you submit a product review.
CHB may change this policy by updating this page. You should check this
page from time to time to ensure you are happy with the changes. This
policy is effective from 21st May 2018.
What personal data will be processed?
When you shop on this site or in one of our stores, personal information such as your name, email
address, phone number, invoice/delivery addresses, type of business and, where applicable the IP address used
to connect your computer to the internet are collected by us. This data
enables us to process and fulfil your order or transaction. We also ask for your mobile
number, which helps us (and courier companies working on our behalf) to
contact you if there’s a problem with your order.
Other information we collect
We may collect technical information regarding the type of electronic
device used, such as the make and model, operating system, internet browser
and also which pages of the site are visited and for how long. This is
statistical data about our users' browsing behaviour and does not identify
you personally. Debit/credit card details are entered on secure pages
hosted by our payment service providers, whether this be Secure Trading or
PayPal, this data is stored securely on their servers, we do not have
access to this. Where card details are given for payment processing over the phone, we do not record or store these details.
We also use CCTV in our stores for the security of our employees and customers.
How will we process data?
Personal data collected is used in the processing and delivering of orders.
Names, email addresses, mobile numbers, postal addresses and business type
may also be used to send you marketing communications (if you have opted in
to receive them). You can opt out of these at any time by visiting ‘my
preferences’ in your online account.
Browsing behaviour data is collected and analysed to see how well our
website is performing on a variety of electronic devices and internet
browsers.
We also use this data for remarketing in conjunction with Google, which
allows us to display adverts to you on third party websites after you have
visited our website. To opt out of this please visit Google’s ad settings.
Who will process data?
Personal data is stored on secure servers, separate to the website server.
We may share this information with third party service providers employed
by us to perform functions on our behalf, such as courier companies
delivering orders, mailing companies sending postal mail, email service
providers sending emails and texts (SMS) and payment service providers
processing payments. PayPal transactions are subject to the PayPal privacy
policy.
We may also share certain data including email addresses (if you are opted
in to receive emails from us) with third party social media platforms in
order to show you targeted ads when you visit them. Third parties such as
Google use cookies to store browsing behaviour data, which enables us to
use their remarketing services. Please refer to our cookie policy for more
information.
Why are we processing data?
We require this information to provide you with a service (processing
orders), it also helps us to ensure that content on our sites is presented
in the best way for you and the electronic device used to access the
content. To send you information regarding our products or services (if
requested by you), protect you and us against fraud and to notify you about
changes to our service.
When will data be processed?
This data will be processed when your order is picked, packed and
dispatched by our distribution centre, or if you enter a competition or
free prize draw. It will also be used every time we send a marketing
communication, if you have opted in and the communication is deemed by us
to be relevant to you.
Any user specific browsing data will be retained for 26 months after you
last visited our site, after which time it will be deleted.
Unsubscribing from marketing communications
To unsubscribe from marketing communications please visit the ‘my account’
section of your online account and select ‘my details and preferences’. You
can then change your opt in preferences for email, text and post.
Alternatively simply click on the unsubscribe links that are sent out with
each email/text or get in contact with us.
Right to access your data
You have the right to request a copy of the data we hold about you, or to
have your data erased in certain circumstances. Please contact us if you’d
like to request this. Please note that depending on your interactions with
us, some data may need to be retained due to legal requirements.
This policy was last updated on 23rd May 2018
You must be logged in to add products to your favourites


.png)