Menu
Inspiration
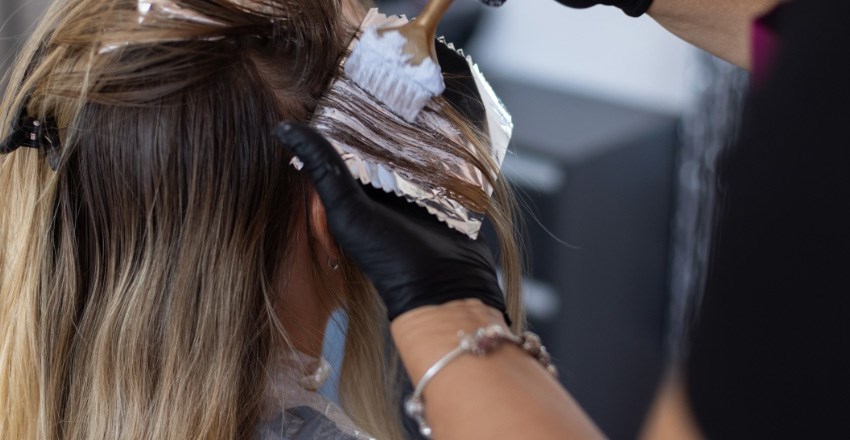
Pro Tips: Colour Maintenance
With lived-in colour, root melts and softer grow-out techniques continuing to trend in 2026, many clients are now comfortably stretching the time between salon visits. Add rising treatment costs and tighter beauty budgets into the mix, and longevity has become a major selling point.
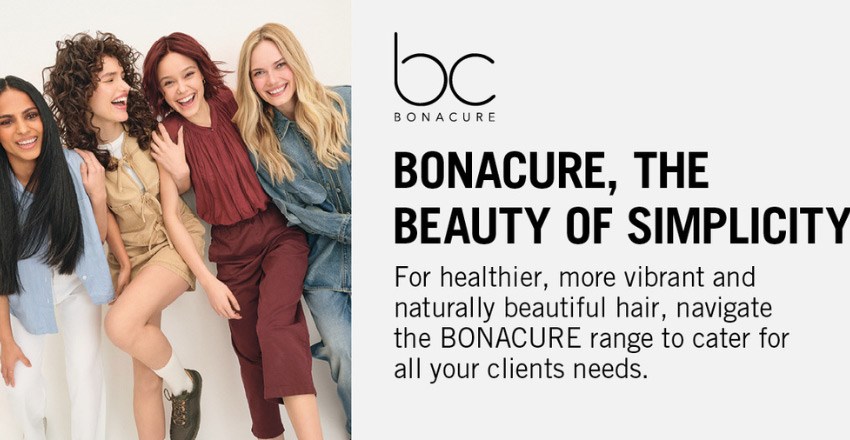
Why Clean Hair Care Matters and Which Products You Should Use On Your Clients
The beauty of simplicity. Free from compromise. Full of promise. BONACURE unites advanced technology with a professional clean formula celebrating simplicity in a world clouded by choice - reducing the superfluous and focusing on what truly matters.
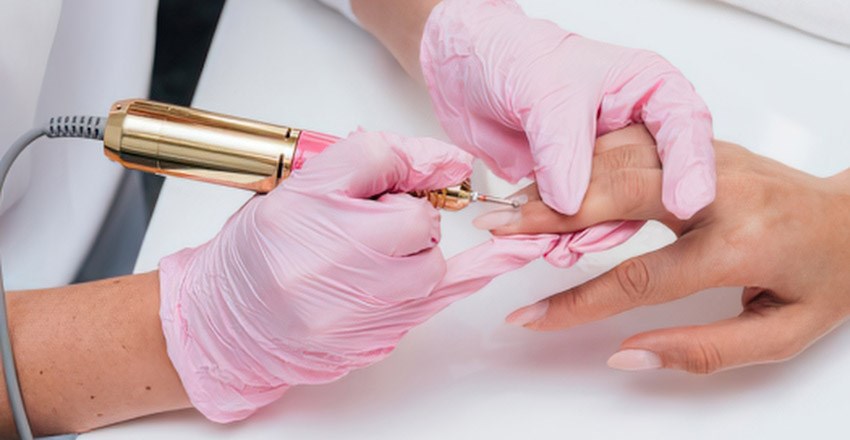
July Pro Tips: Five Essential Nail Strengthening Tips
In this month's Pro Tips guide, we'll explore five nail-strengthening strategies.
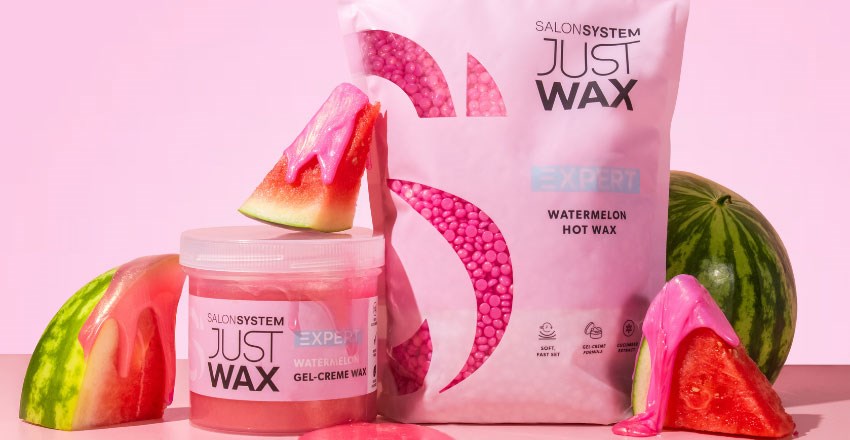
Summer Waxing Season: Essential Wax Products & Expert Tips for a Busy Wax Season!
With the right waxing products, a well-organised treatment room and a few smart habits, you can deliver exceptional treatments while looking after yourself too.
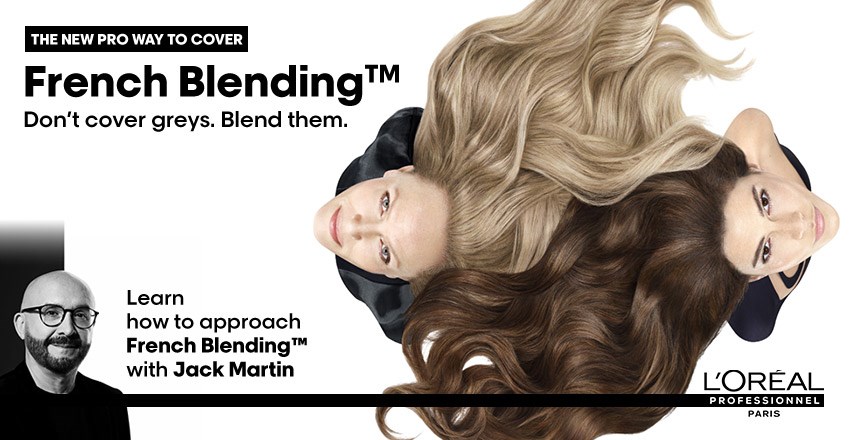
Reinvent Grey Coverage: Grow Your Business with French Blending™
Grey coverage is your single biggest daily opportunity, representing a massive 60% of all in-salon colour business. The math is simple: for every 1 loyal colour client currently on your books, there are 3 potential new clients waiting to be recruited.
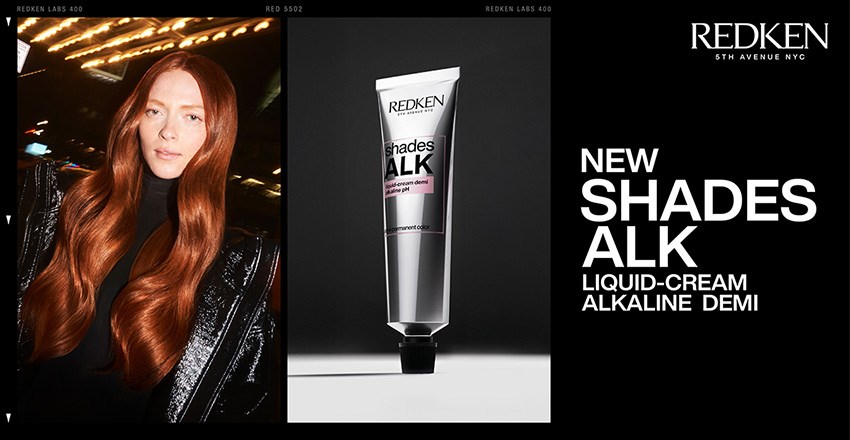
Introducing Redken Shades Alk – The Powerhouse Demi-permanent
Every professional toolkit needs a reliable bridge between traditional acidic glosses and permanent colour. Redken Shades ALK provides that missing link: an alkaline, ammonia-free liquid-cream demi-permanent that delivers up to 1 level of lift and 75% gray coverage*.
-thumbnail.jpg)
Goldwell Unveils Velvet Gradients: A New Dimension of Collaboration, Colour and Creativity
Goldwell is turning up the volume on colour with the launch of Velvet Gradients! Its bold new campaign, designed by stylists for stylists. Blending vibrant self-expression with global salon ingenuity.
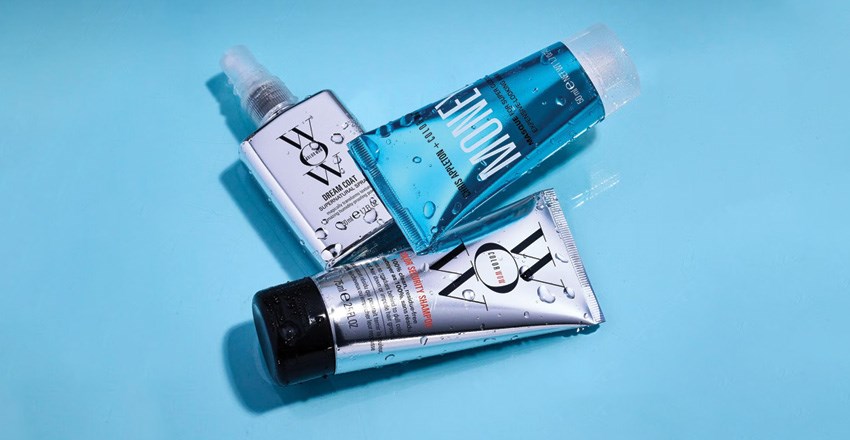
10 Products Every Client Needs on Holiday
These are our top 10 recommendations for must-have travel-size haircare and beauty essentials this year.
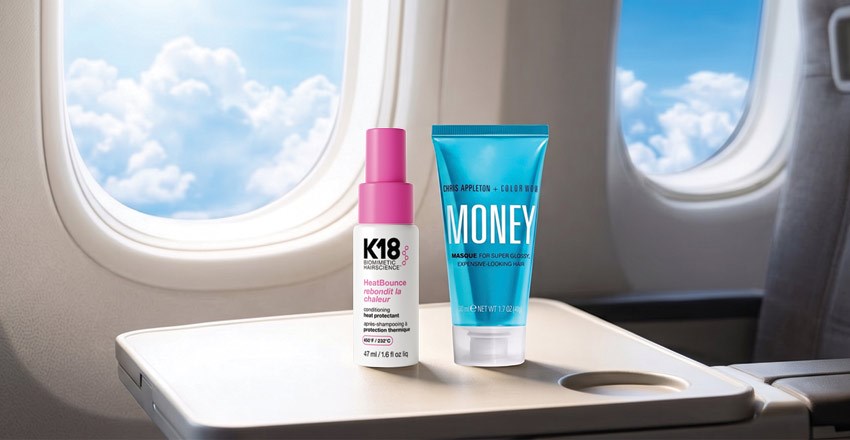
Help Your Clients Protect Their Hair Colour On Holiday
Show expertise and help clients protect hair colour on holiday with tips & travel-size products. Discover essentials to retail for UV, chlorine and colour fade.
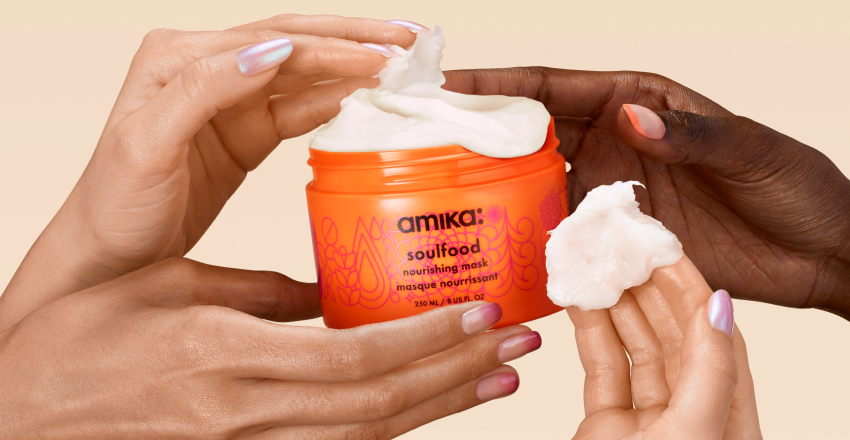
Amika Has Landed at Capital Hair & Beauty! Get to Know the Signature Collection
At Amika, their products get their start right in the salon—because they trust their stylists just as much as your clients do. That’s why they're thrilled to be at Capital Hair & Beauty.
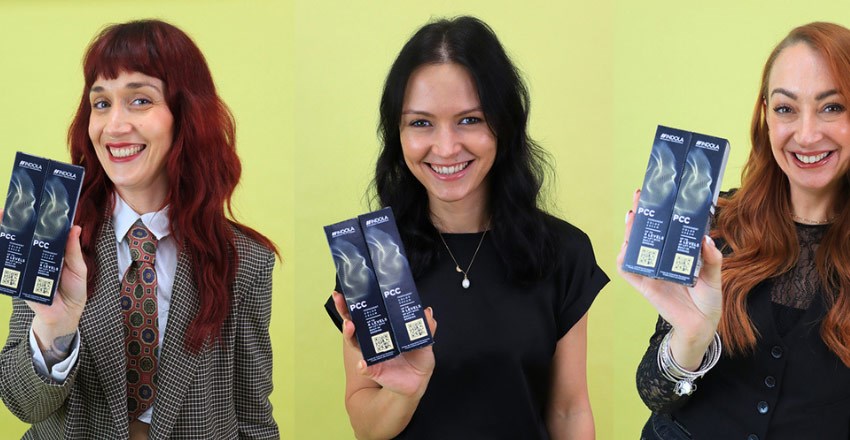
How can you introduce the new PCC SMART LIFT Shades into your salon?
Learn from the Indola UK Ambassadors as they explain how you can integrate the new PCC Smart Lifts into your salon, expanding your service opportunities.
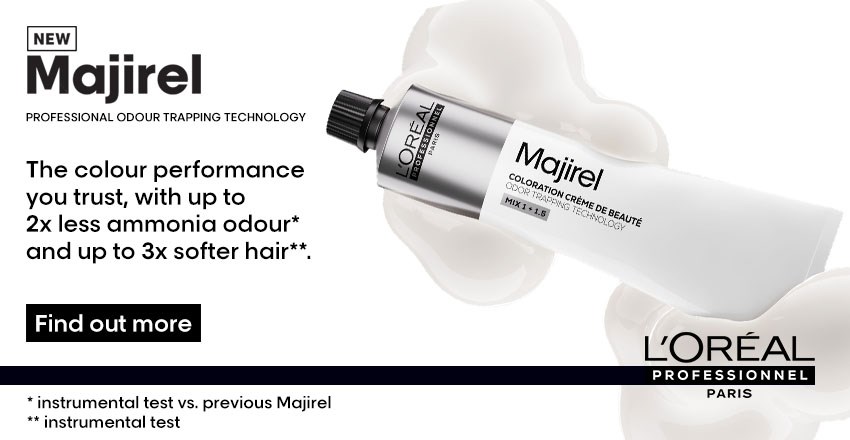
The Reinvention of Majirel: What Hairdressers Need to Know About L’Oréal Professionnel’s Iconic Colour System
For decades, L’Oréal Professionnel Majirel has been a salon staple trusted by colourists worldwide for its reliable grey coverage, rich tonal results, and professional performance. Now, the iconic permanent colour system has been reinvented, delivering enhanced comfort, improved sustainability, and even more creative possibilities for salon professionals.
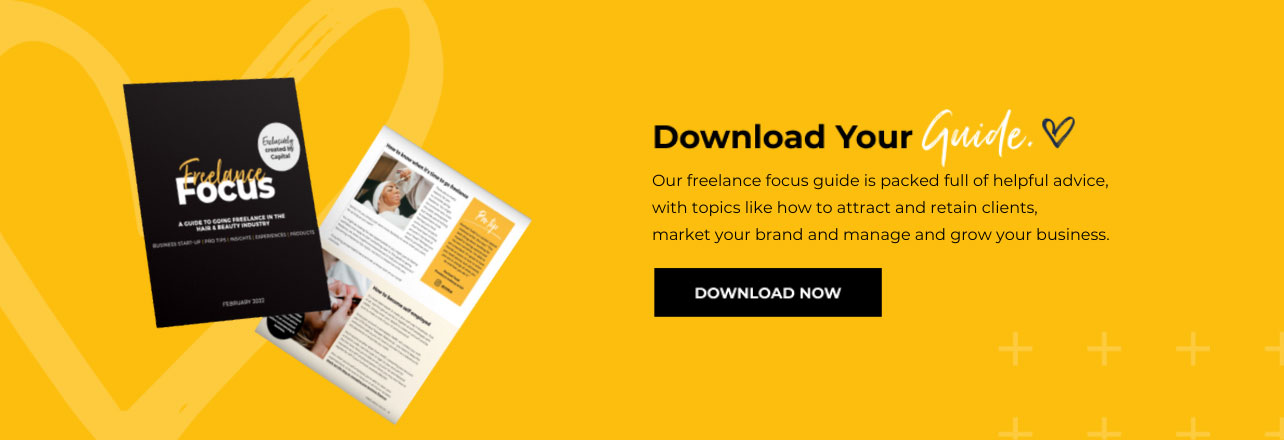
Freelance Focus
Freelance Focus, is a one stop resource for anyone working as a freelancer or thinking of going freelance in the hair & beauty industry, which includes a FREE downloadable guide filled with advice, useful insights, experiences and tips (from experienced freelancers) to help you understand the steps needed to make the right choices for you.