Menu
Tie Dye Step by Step Nail Art from Salon System
Tie dye is the top trend for summer, so Salon System nail expert, Jaz Moger, has created a step by step using some gorgeously bright GELLUX colours to keep you right on trend!
Step One
Start by prepping the nails and filing to a round shape. Push back the cuticle using the Salon System Cuticle Handy Manicure Tool and remove the cuticle using the GELLUX Erase Cuticle Remover and cuticle clippers. Buff the nail plate and cleanse nails with GELLUX Prep + Wipe. Apply GELLUX Fast Bond followed by one coat of GELLUX Cover Pink Base Coat and cure for 60 seconds.

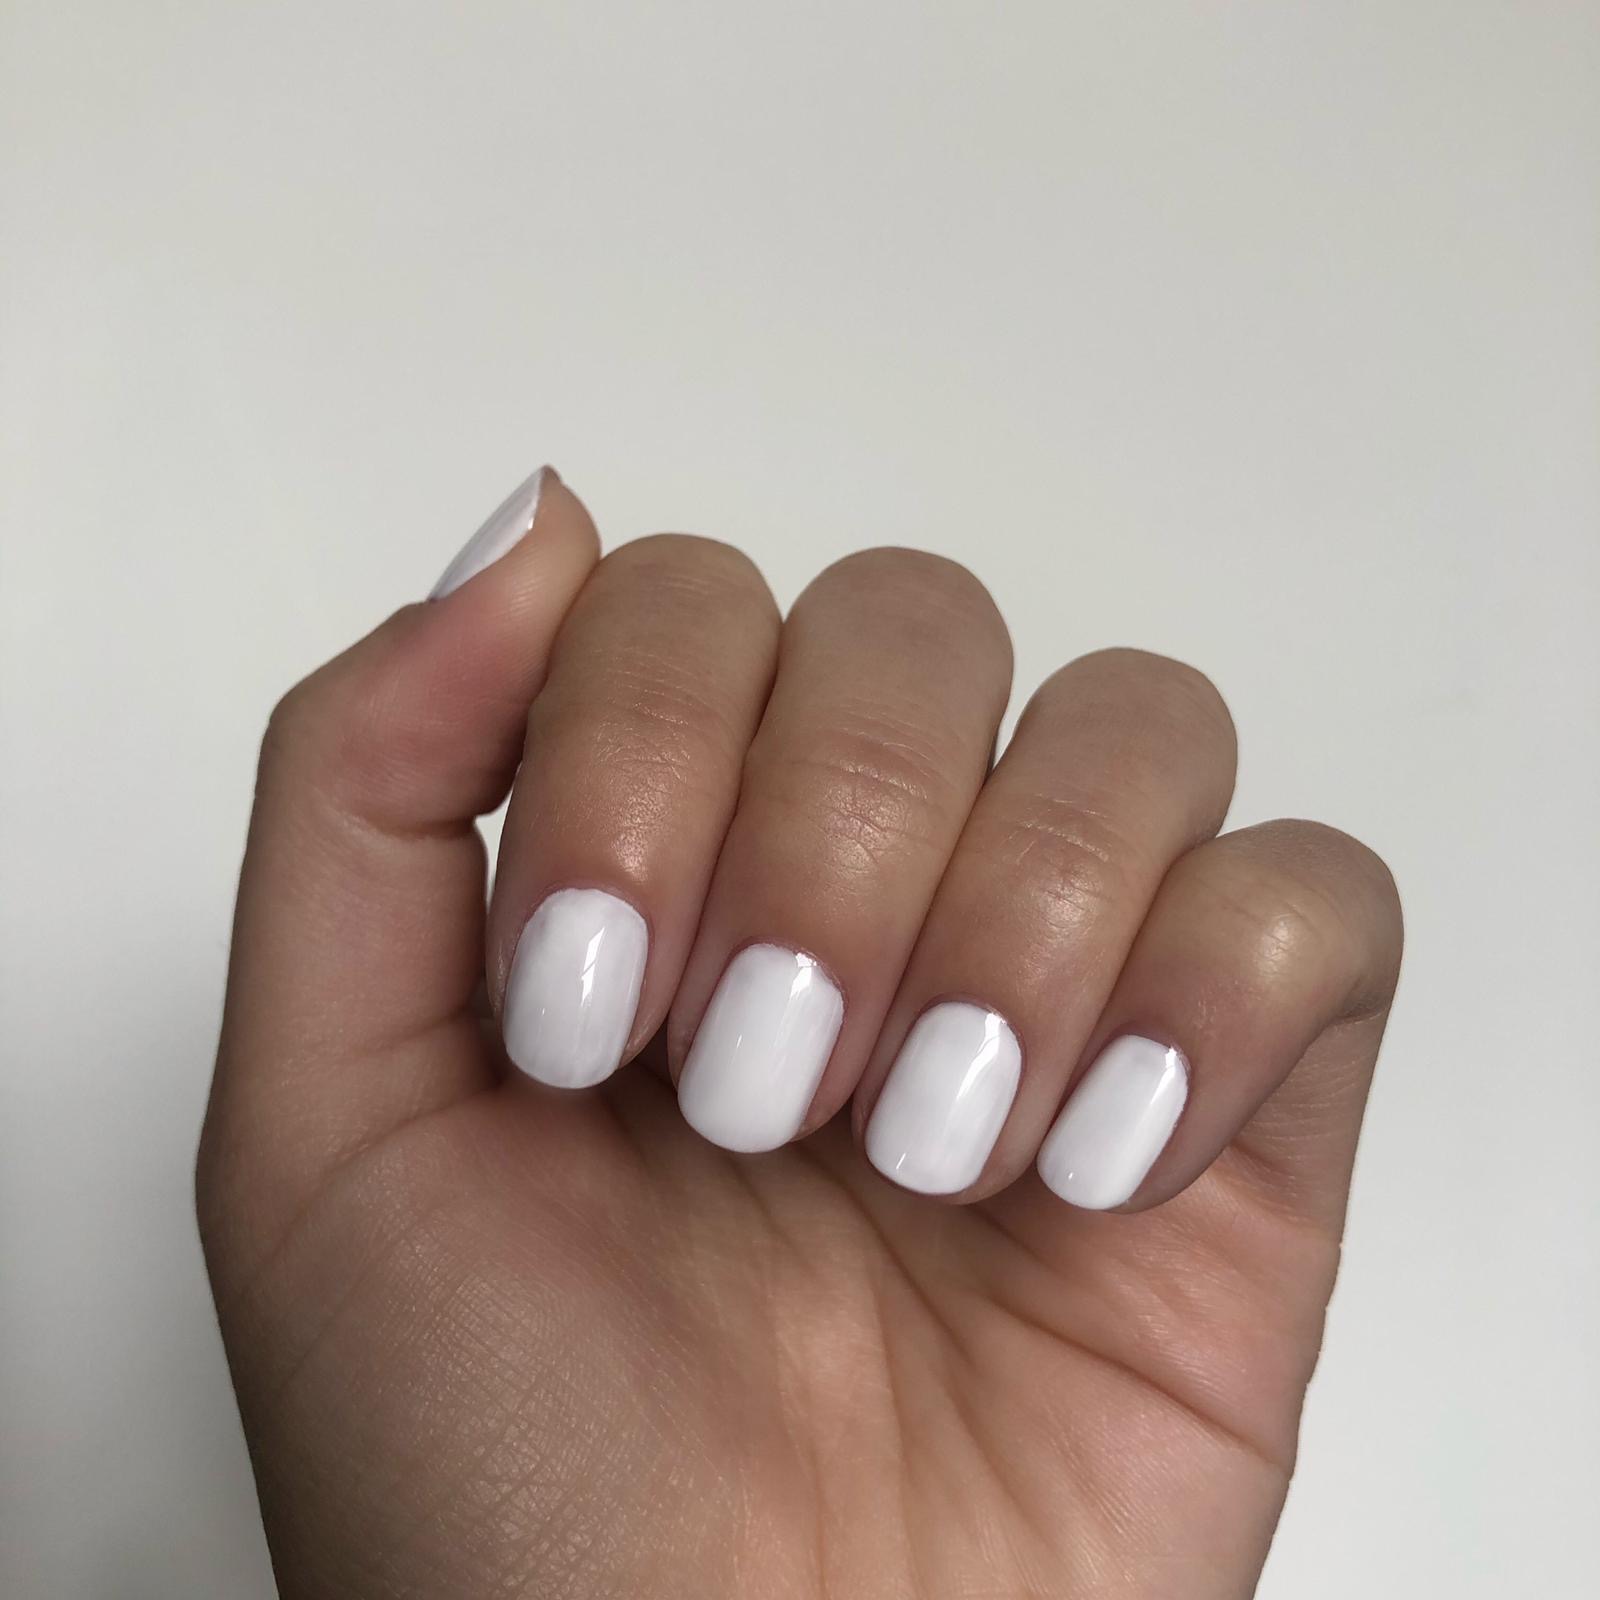
Step Two
Apply one coat of GELLUX Purely White and cure. The white provides a good base for the stripes and will help to make the colours pop.
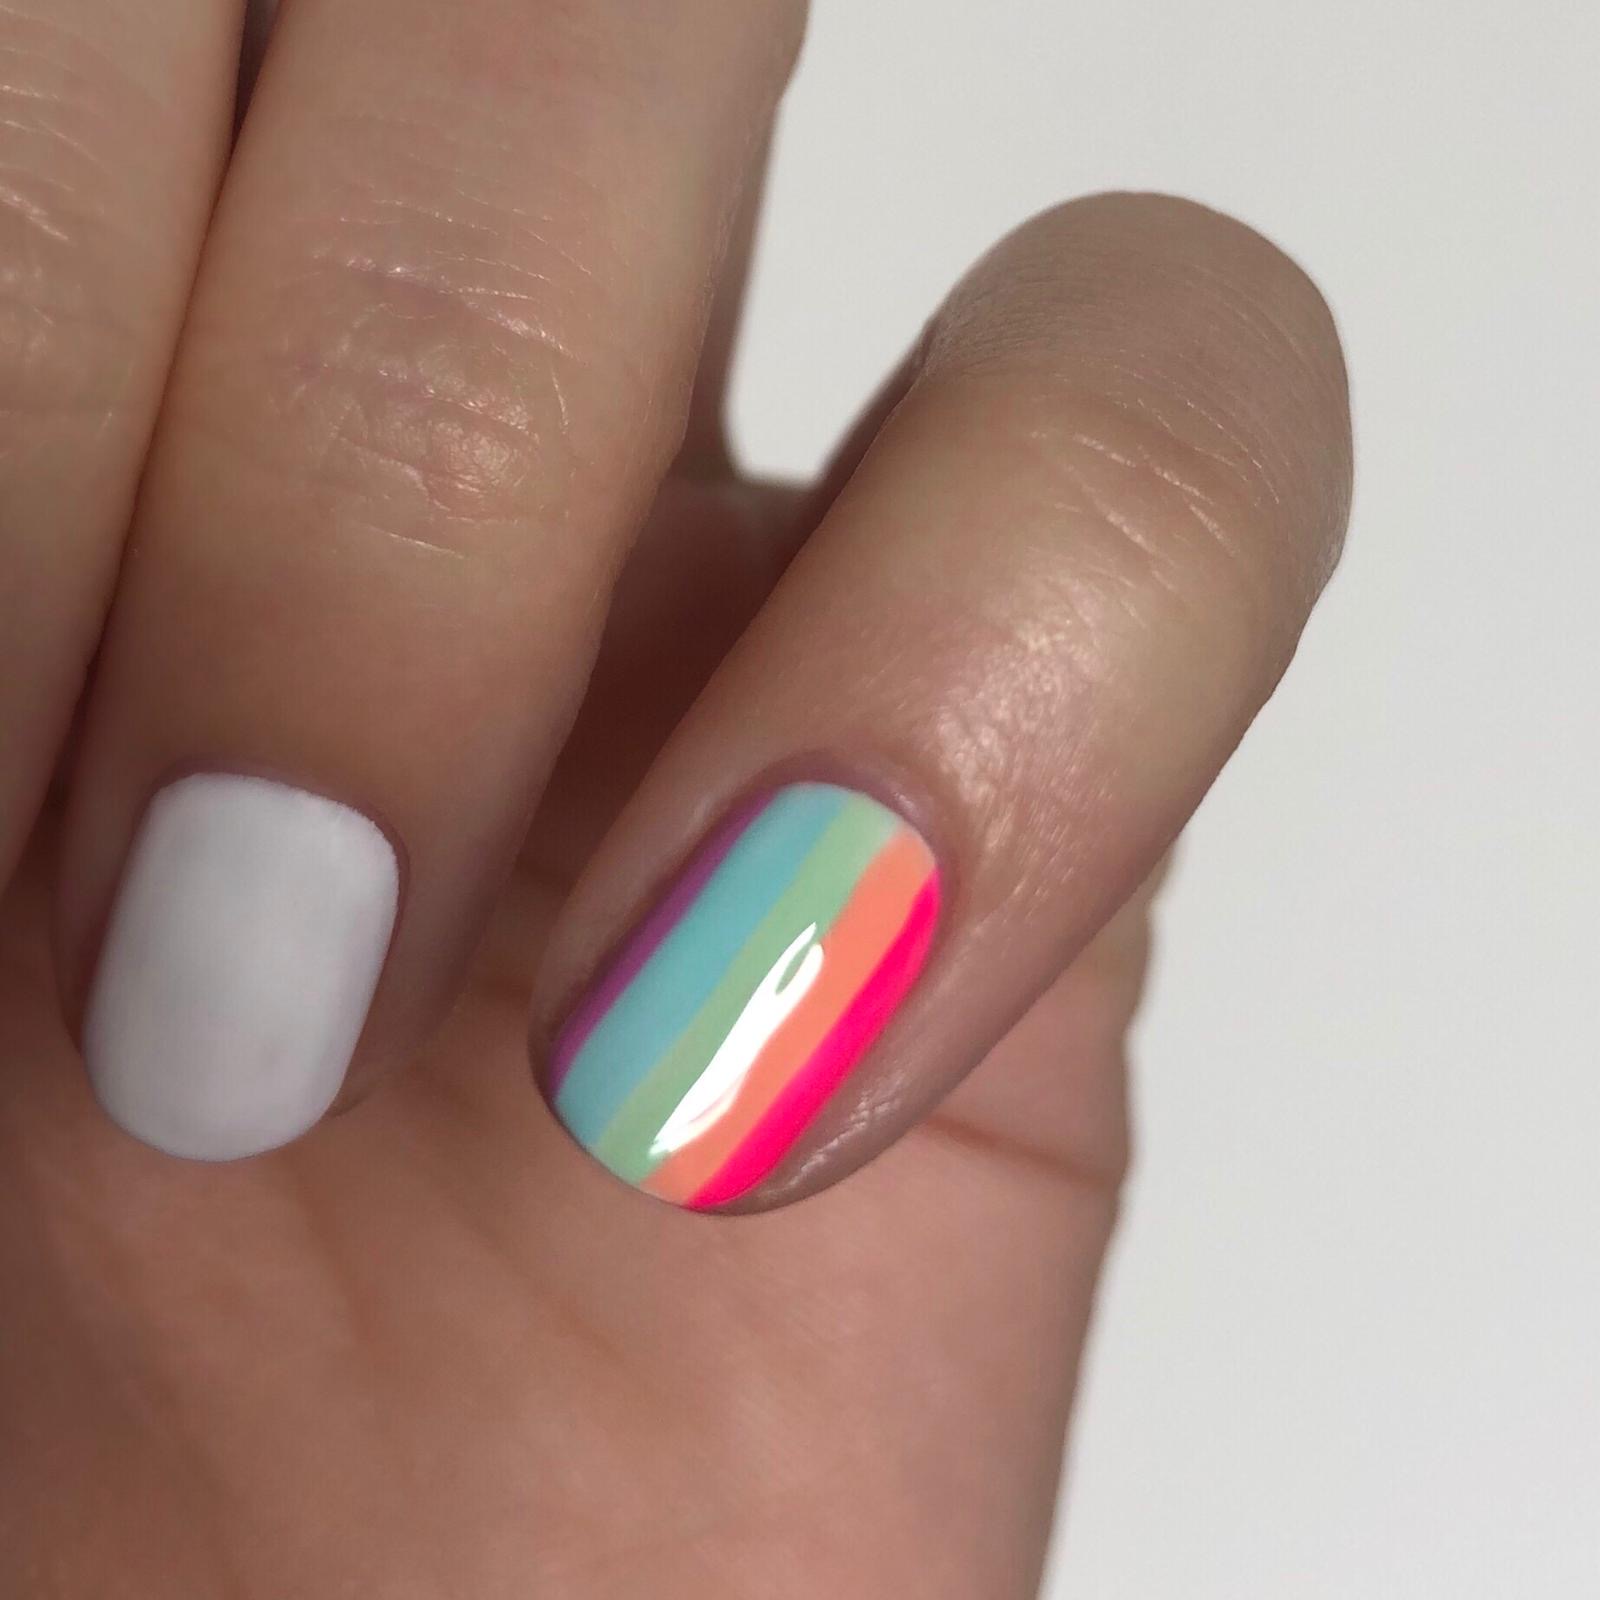
Step Three
Using a variety of GELLUX colours, paint stripes vertically down the nail, but do not cure. Here we have used: GELLUX Pink Punch, Mud & Music, Glamping, Tease Me, Steal the Show and Main Stage.
If brights aren't your thing, why not opt for pastel tones for a more understated look?
Step Four
Next, drag a fine liner nail art brush horizontally through the paint, cleaning the brush between each drag.
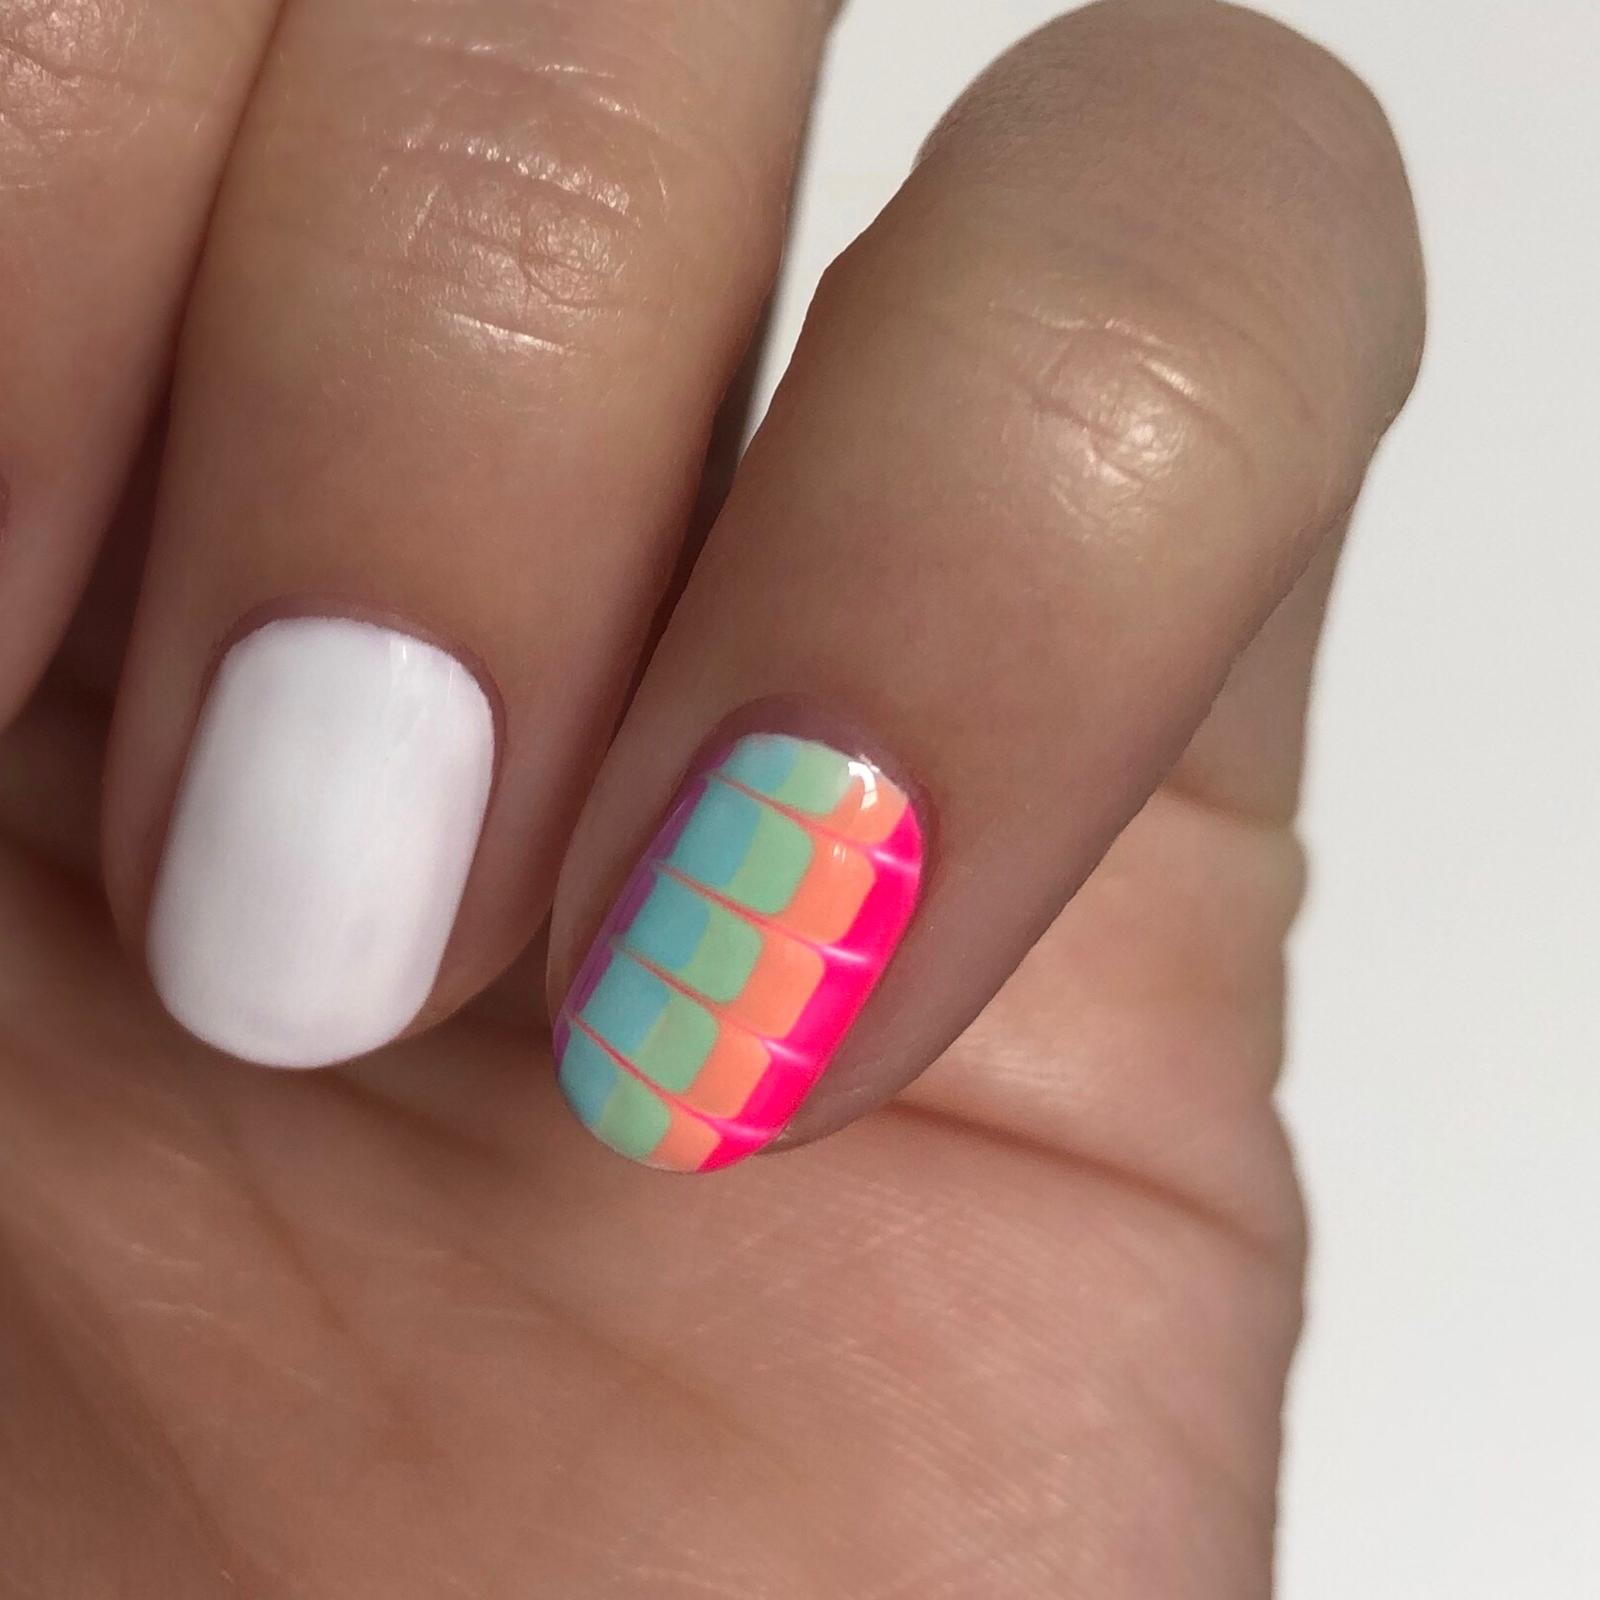
Step Five
Repeat step four with the nail art brush, but this time from the other side between the other lines you have already done. Once you are happy, cure. Continue to do this to each nail, going vertically or horizontally.

Step Six
To finish the look, apply a coat of GELLUX Shiny Top Coat, cure and then wipe over with GELLUX Prep + Wipe. Finally, finish by applying GELLUX Nail & Cuticle Oil.
.JPG)