Menu
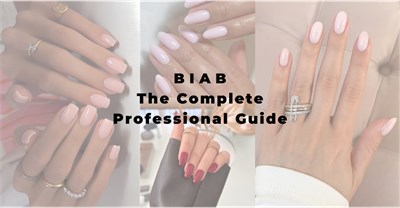
A Professional’s Guide to Effective & Safe BIAB Nail Removal
As a nail professional, your technical skills are just as important as your creative flair. Proper BIAB nail removal is one of those key skills which you’ll rely on time and again to keep your clients’ nails not only looking beautiful, but healthy, too.
If removal is rushed or done incorrectly, the natural nail can become over-filed, dehydrated or weakened, affecting both your client’s experience and your professional reputation. In this guide, we’ll take you through everything you should know about how to remove BIAB nails for a seamless, damage-free service. Look out for our top product recommendations and common mistakes to avoid.
What to Know About BIAB Before Removal
Understanding how BIAB and builder gel behave on the nail will make your removal process smoother, safer and more efficient. Here are the key things that every nail professional should know before offering the service:
- BIAB has a thicker, more supportive structure, which cannot be removed with acetone alone.
- Because of its density, BIAB takes longer to break down during removal compared with regular gel polish.
- BIAB is designed for infill services, so full removal is usually only needed in certain scenarios (see our section below on When Do I Need to Remove BIAB vs Infilling?).
- After BIAB removal, it’s normal for the natural nails to appear temporarily matte or slightly dry until they’ve been cleaned, buffed and hydrated.
With these points in mind, you’re ready to start the BIAB removal process while respecting the natural nail underneath.
When Do I Need to Remove BIAB vs Infilling?
One of the benefits of BIAB is that it can be safely infilled for multiple appointments (typically 3–4 sessions), helping your clients to maintain strength and length without starting from scratch each time. Prioritising infilling also avoids the regular use of acetone, which can dry out the nail plate and skin.
Nevertheless, there are times when a full removal is seen as the better option:
When to Remove BIAB Completely
- There is lifting, cracking or product breakdown
- Your client is switching brands or systems and needs a clean base
- The BIAB has been infilled for 3–4 appointments
- Your client prefers a full soak-off/removal
In most other cases, an infill is usually the most efficient and natural-nail-friendly choice. Understanding when to remove versus when to rebalance helps you manage appointment time, achieve better results and keep your clients’ nails in tip-top condition.
The Tools & Products You’ll Need for BIAB Removal
Here are the professional tools you’ll need to hand when removing BIAB or builder gel in your salon:
- Nail files (220/240, 100/180, 120/180): for breaking the seal and reducing bulk.
- Pure acetone: for an effective soak-off.
- Foils and lint-free pads or a soak-off bowl: depending on your preferred method.
- Nail clips: to hold the acetone-soaked pad in place on the nail.
- Cuticle pusher or orange sticks: to gently lift the softened product.
- Soft dust brush: for clearing debris.
- E-file: if you’re fully trained and confident with e-file techniques.
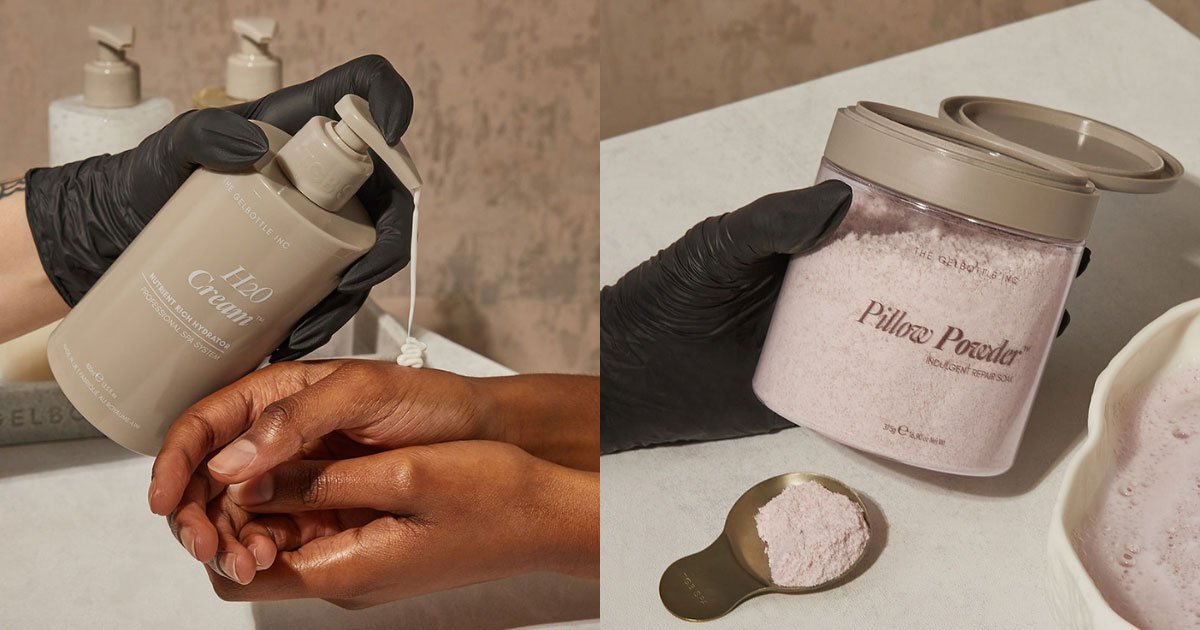
- Nail oils and hydrating treatments: to nourish the natural nail post-removal.

Note: Always follow the manufacturer’s instructions for the specific BIAB system you’re using, as products can vary in density, soak-off time and recommended technique.
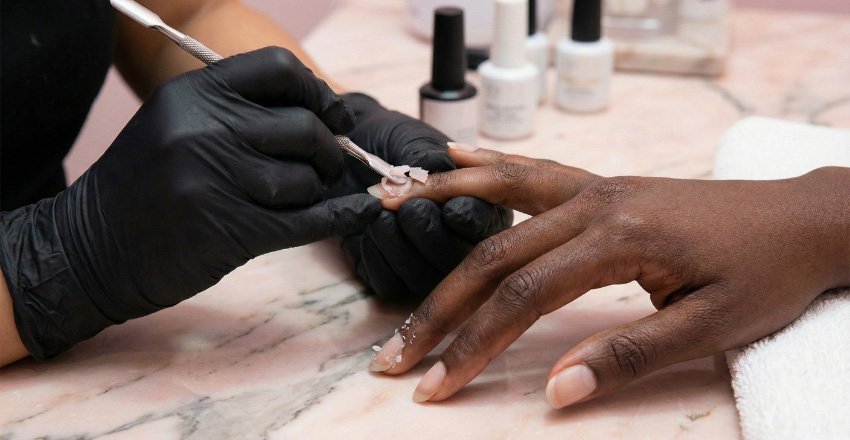
How to Remove BIAB Nails: Step-by-Step
Here’s the professional method for how to remove BIAB nails effectively, without causing damage.
Step 1: Break the top coat seal
Products required: 220/240 grit nail file
Use a 220/240 grit file to gently remove the shiny top layer. This helps acetone penetrate the product more effectively.
Step 2: Reduce the bulk
Products required: 100/180 grit nail file, e-file
Carefully file down the BIAB to thin the structure. You could use a manual 100/180 file here or, if you’re trained in e-file techniques, an e-file with a BIAB-safe bit can speed up the service.
Avoid filing too close to the natural nail at this stage.
Step 3: Soak the nails
Products required: Acetone, lint-free pads, nail foils, nail clips, soak-off bowl
Once the surface layer is reduced, apply acetone-soaked lint-free pads and wrap the nails in foil or use nail clips. This will give you more freedom to work on each nail individually. Alternatively, ask your client to place their fingers in a soak-off bowl with acetone.
Soak for 10–20 minutes, depending on the brand and thickness of the BIAB gel.
Step 4: Gently remove the softened product
Products required: Cuticle pusher/orange stick
Use a cuticle pusher or orange stick to gently ease away the softened BIAB. Never force the product off. If it resists, move straight on to step 5.
Step 5: Re-soak if needed
Products required: Same as step 3
Some nails will need a second soak, especially if the BIAB was applied thicker or heavily infilled. Re-wrap and soak for a few more minutes until the product lifts more easily.
Step 6: Refine the natural nail
Products required: 120/180 nail file, 100/180 nail buffer
Once the BIAB is fully removed, lightly reshape the nail and then smooth the nail surface with a fine-grit buffer. Keep this step gentle to avoid thinning the natural nail.
Step 7: Cleanse and hydrate
Products required: Nail dust brush, cuticle and nail oils
Finish by cleansing the nails to remove residue and dust, then apply cuticle oil or a hydrating treatment. This restores moisture and supports nail health after removal.
Top Tips for the Best BIAB Nail Removal Process
- Don’t apply too much pressure when filing. Let the grit do its job!
- Always check in on your client’s comfort before, during and after soaking.
- Removing BIAB nails evenly across both hands keeps timing consistent.
- Encourage your clients to use cuticle oil daily to support healthy regrowth.
Avoid These 7 Common BIAB Nail Removal Mistakes
Even experienced nail techs can run into issues during BIAB removal, especially when schedules are tight or clients are in a hurry. Keeping an eye on these most common mistakes helps protect the natural nail and ensures a smooth, comfortable service for your clientele.
Avoid the following during BIAB removal:
- Overfiling the natural nail: Thinning the nail plate can cause long-term sensitivity.
- Using the wrong grit file: Too coarse can damage, too fine can slow removal.
- Letting the product “pop off”: This can tear the nail’s surface layers.
- Forcing product before it’s fully soaked: Always opt for a re-soak first instead.
- Using an e-file without proper training: Incorrect technique can cause heat, rings of fire or nail thinning.
- Rushing the process: BIAB needs time, patience and the correct technique to break down safely.
- Skipping hydration or aftercare: Nails can feel dry or tight without proper finishing steps.
Final Thoughts and Next Steps
Safe, effective BIAB removal is just as important as flawless application. When you follow the right steps, protect the natural nail and give your clients clear aftercare guidance, you’ll secure long-term clients who trust your expertise and technique.
At Capital Hair & Beauty, you’ll find everything you need for high-quality BIAB and builder gel services, from acetone and e-files to builder gels and BIAB themselves. Explore our full range of nail products and nail training, sign up for your account with us and visit your local Capital Hair & Beauty store for more expert support.
Learn even more about BIAB nails by heading back to our full guide.
BIAB Nail Removal: FAQs
Can BIAB damage the natural nail?
Not when it’s applied and removed correctly. Damage typically comes from over-filing, forcing the product off, or skipping proper removal steps. A controlled soak-off and gentle refinement will keep the natural nail healthy.
How long should BIAB last before removal or infill?
Most clients return every 3–4 weeks for an infill. Full removal is usually only needed when switching colours or systems, or if there’s lifting or breakdown.
Do you always need to soak off BIAB?
No. BIAB is designed for regular infills, so soak-offs are only required when a full removal is necessary. For maintenance, a rebalance is the most natural-nail-friendly option.
How do you remove BIAB safely with an e-file?
Only trained professionals should use an e-file. The correct bit should be used to reduce bulk, not touch the natural nail. After thinning the product safely, follow with a standard acetone soak-off.
Why won’t my client’s BIAB soak off properly?
Common reasons include: not breaking the top coat seal fully, insufficient bulk reduction, using diluted acetone, or removing wraps too soon. Re-soak the nail rather than trying to force the product off.
What should clients avoid after BIAB removal?
Your clients should avoid picking, excessive filing and harsh chemicals immediately after removal. Encourage gentle aftercare (specified below) while the nails rehydrate.
What aftercare should I recommend to clients?
Daily cuticle oil, a hydrating hand cream and gentle home care are key to healthy nails. You can also recommend a short break or a nail strengthening treatment if their nails feel especially dry after removal.
Related Posts
BIAB vs Gel vs Acrylic: How to Choose the Right Nail System for Your Clients
n this guide, we’ll break down how BIAB, acrylic and gel polish differ in application, durability and maintenance to help you choose the best fit for every customer.
BIAB Nail Inspiration for Every Season: Spring, Summer, Autumn & Winter
In this guide, you’ll find timeless BIAB nail designs for spring, summer, autumn, and winter and the festive season, complete with pro tips to help you adapt colours, textures and finishes for any client, any season.

How to Stay Creative & Create BIAB Nail Designs Your Clients Will Love
In this guide, we’ll explore how to discover your creative potential with BIAB nail designs, from finding inspiration and experimenting with new techniques to keeping your designs on-trend.
A Nail Pro’s Guide to BIAB Nails: What Are They, Design Inspo & Removal
In this guide, we’ll cover everything from what BIAB gel nails are and how they compare to other systems to colour options and how long BIAB really lasts.